

Your journey begins with a discussion about your wants and needs in your avionics panel. We will offer ideas drawn from our experience and knowledge of the Sling or RV aircraft cpmbined with the avionics available. Our goal is to help you get what you want in the most economical way that will make sense for your mission. The proper setup always starts with finding out what you plan to do with your airplane and building upon that goal. Once you are satisfied with the avionics to be installed, we will make a list and move forward.
Avionics Panel Building Process
[heading subtitle=”Work With You To Determine Equipment” size=”2″ heading_class=”style-3″ heading_style=”divider-lg”]1. Make Equipment List[/heading]
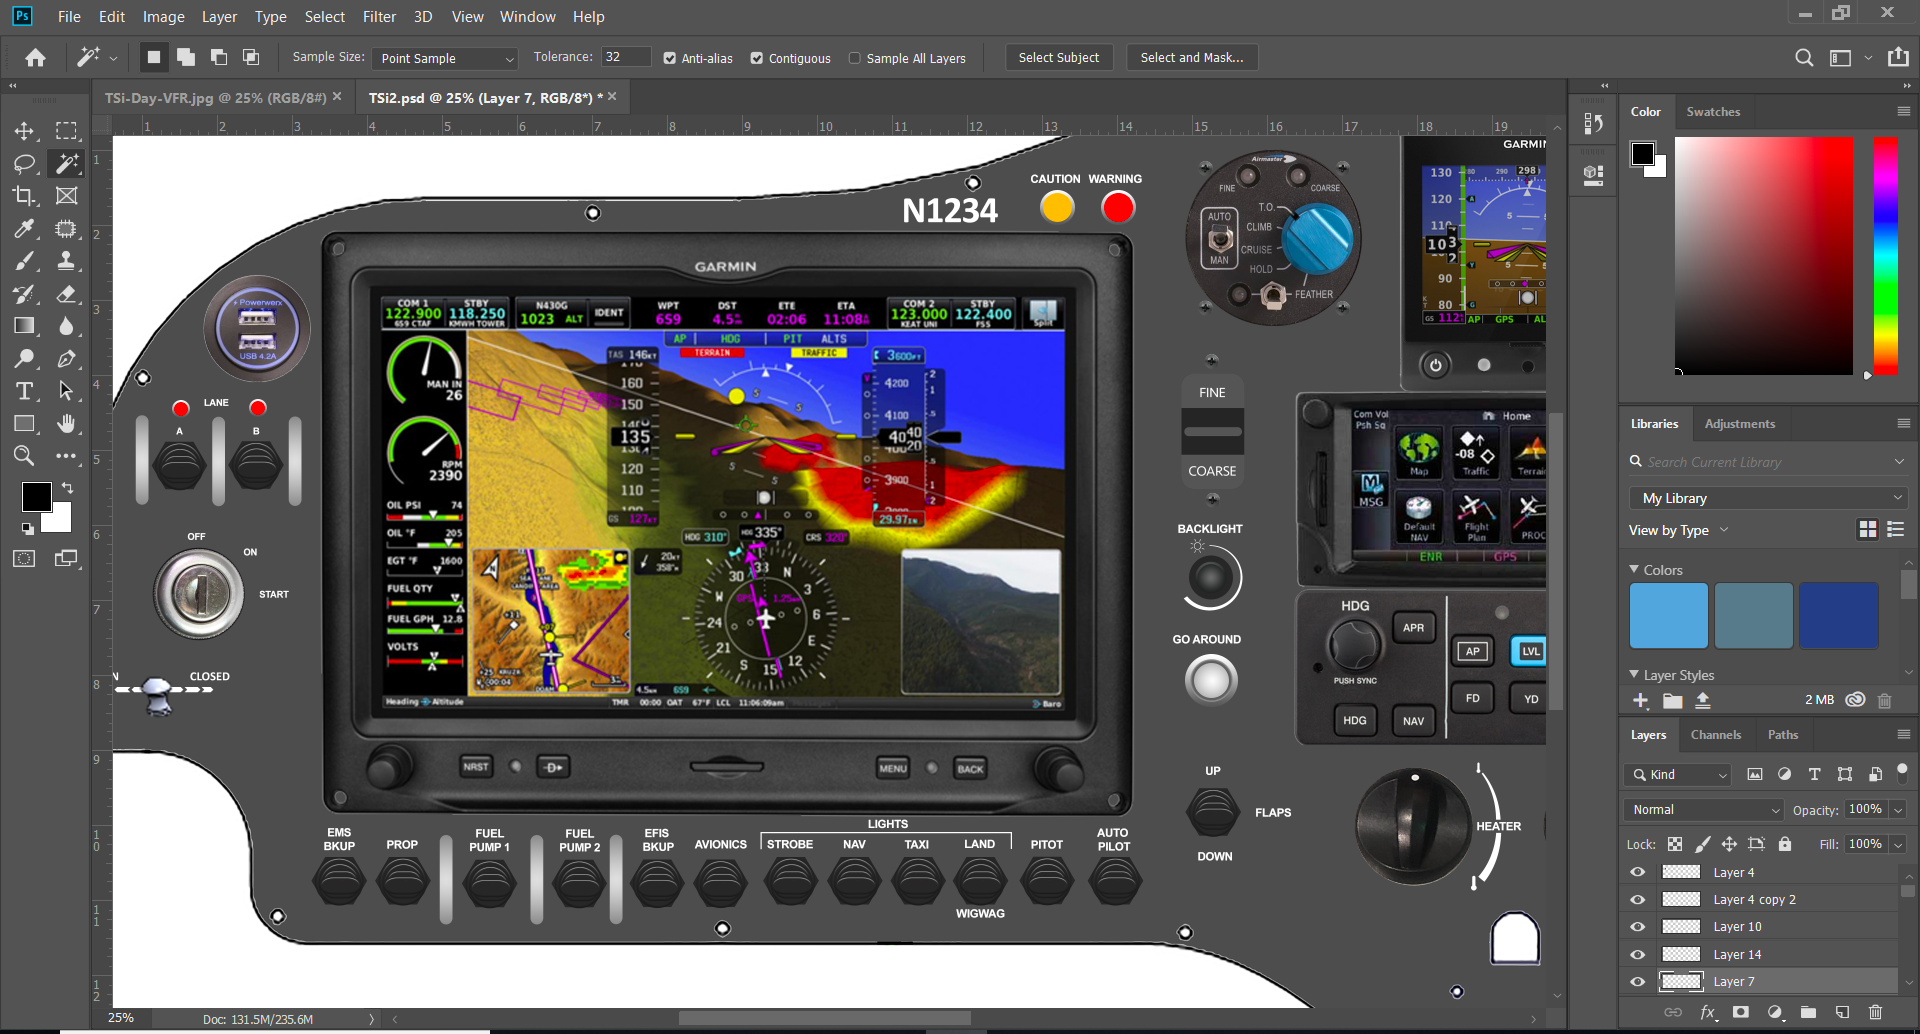
[heading subtitle=”Panel Design and Renderings” size=”2″ heading_class=”style-3″ heading_style=”divider-lg”]2. Design[/heading]
Once we work out an equipment list to meet your goals, we will start the layout of your panel. We use form and function to design a panel that flows nicely, makes sense, and looks incredible! Then, you will receive a realistic high resolution rendering of your panel, allowing you to see the proposed final product before approving it for final production.
[heading subtitle=”CAD File Made and Panel Cut” size=”2″ heading_class=”style-3″ heading_style=”divider-lg”]3. Panel is Created[/heading]
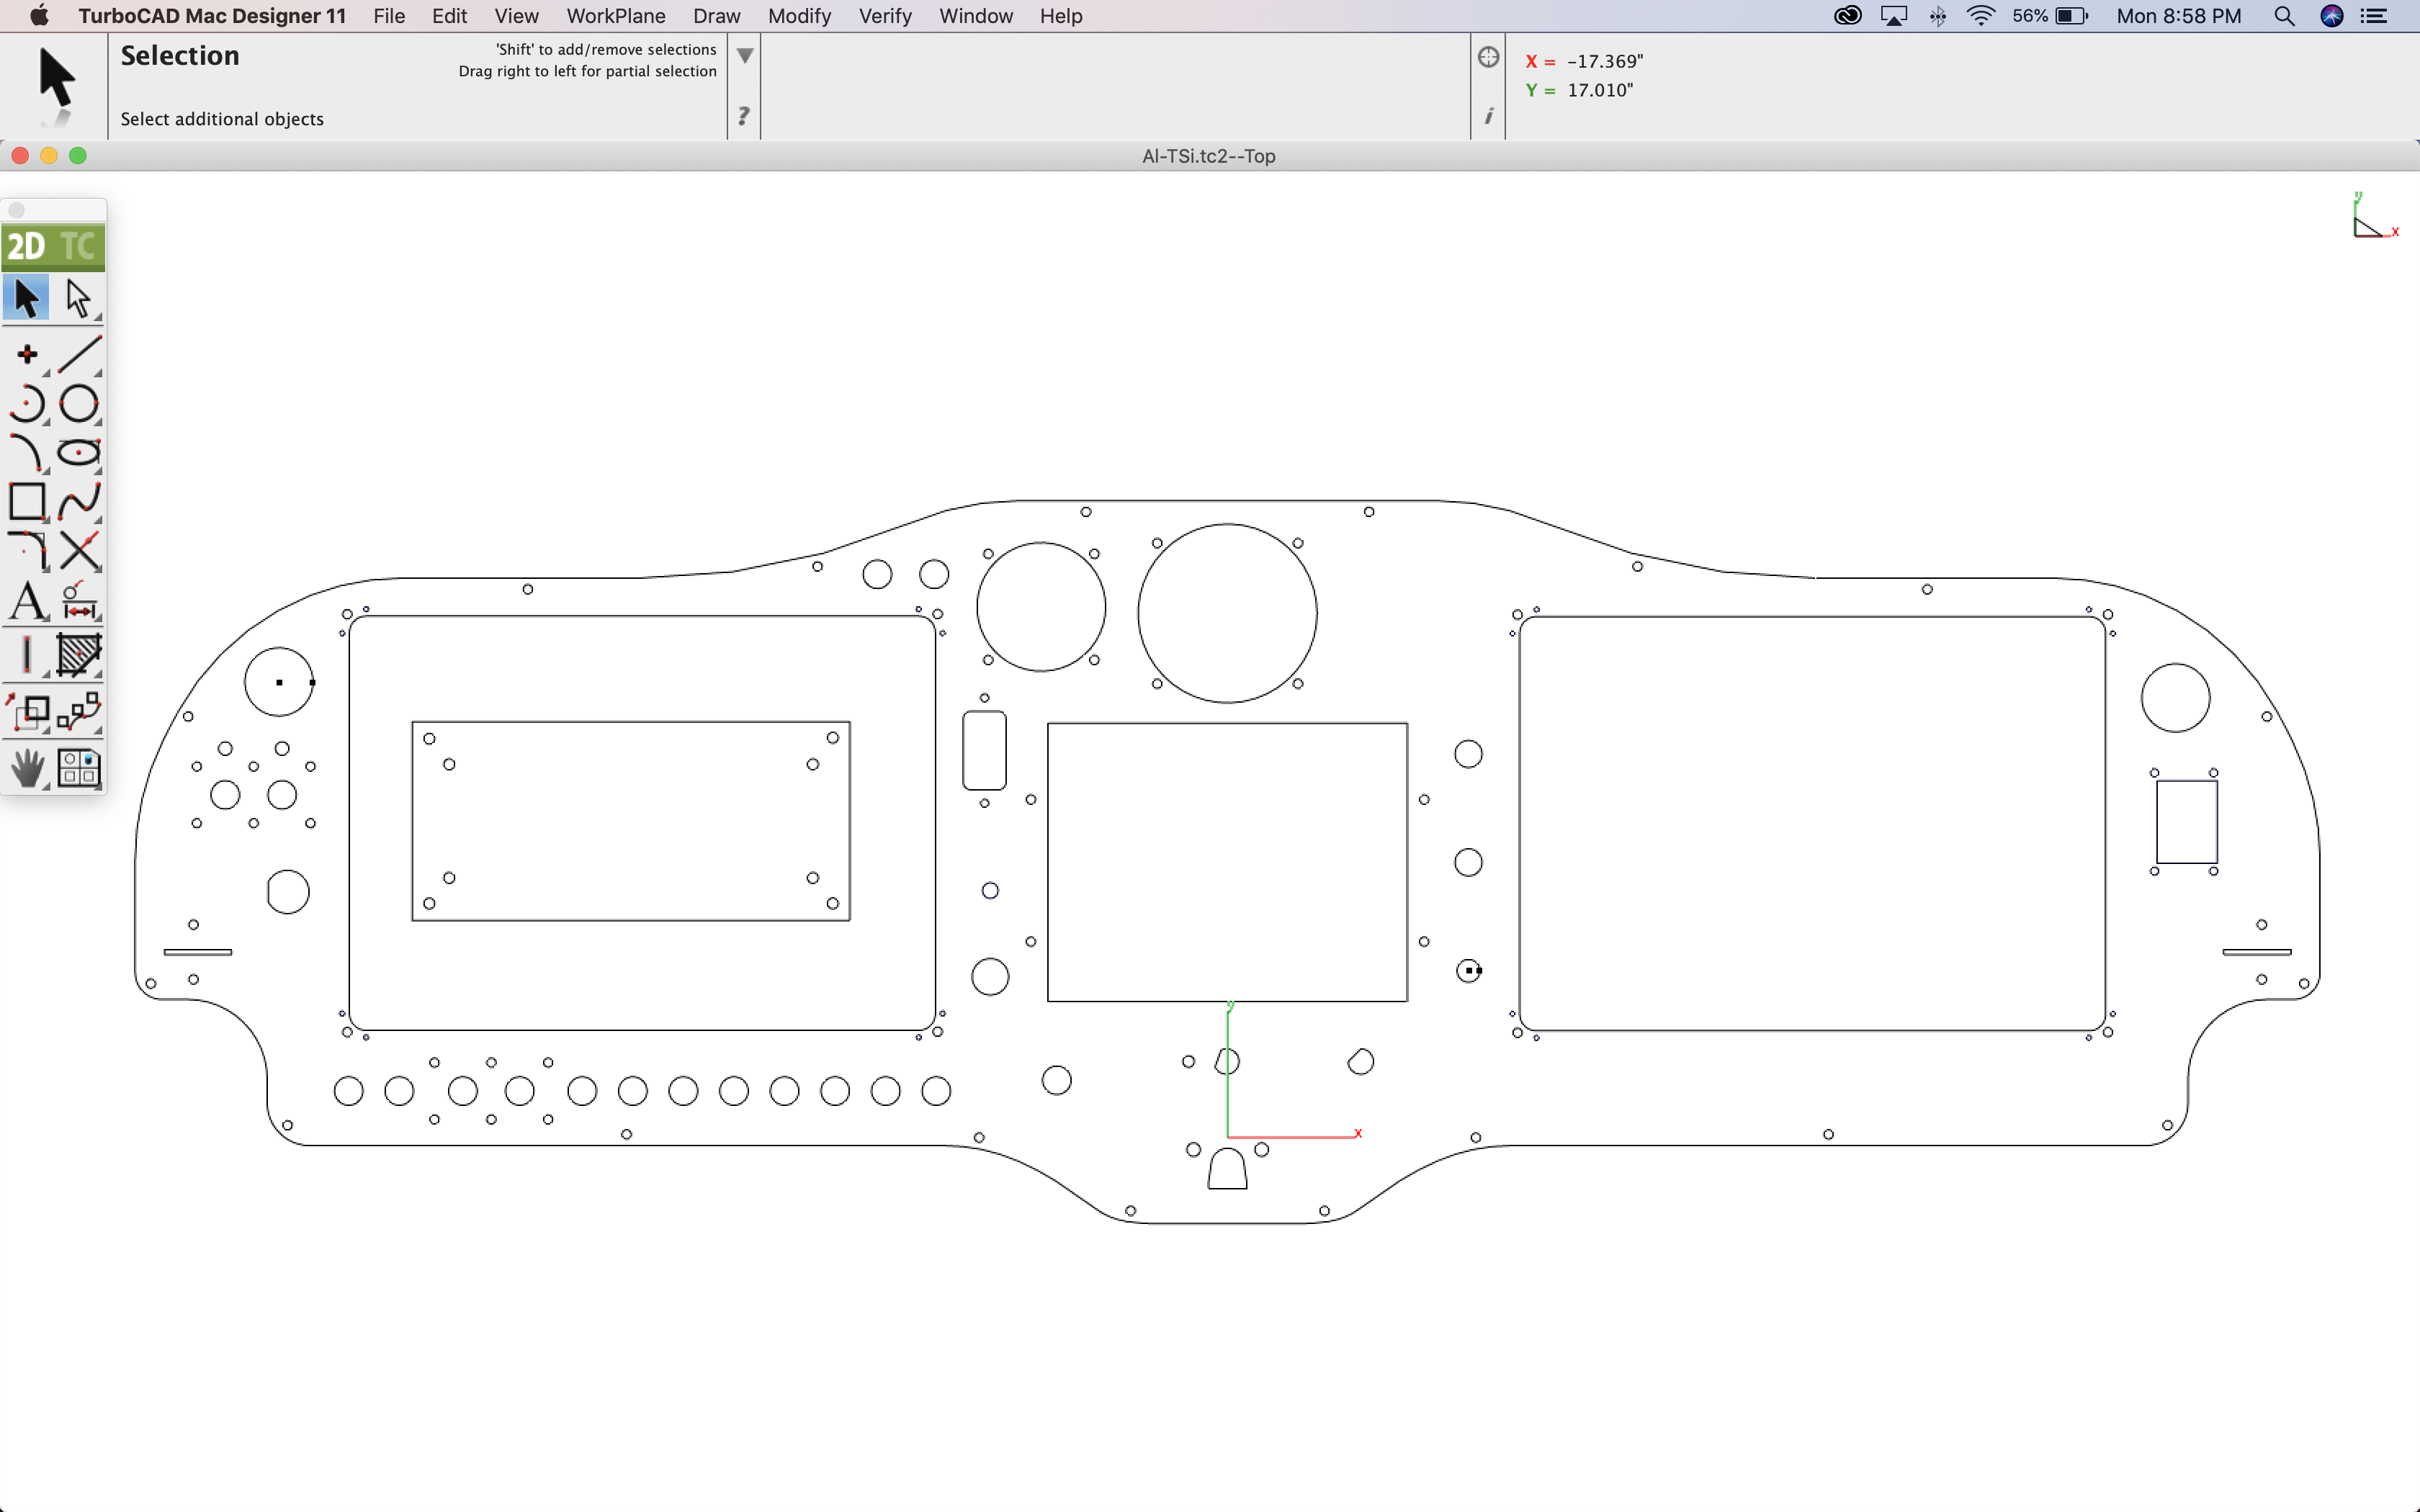
Even prior to submitting your panel to you for final approval, we have already made a CAD file for cutting. This process ensures that we can properly fit the necessary components, so we do not show elements that will not work. Plus, any changes you request can be easily reworked on the CAD file to determine if they are possible.
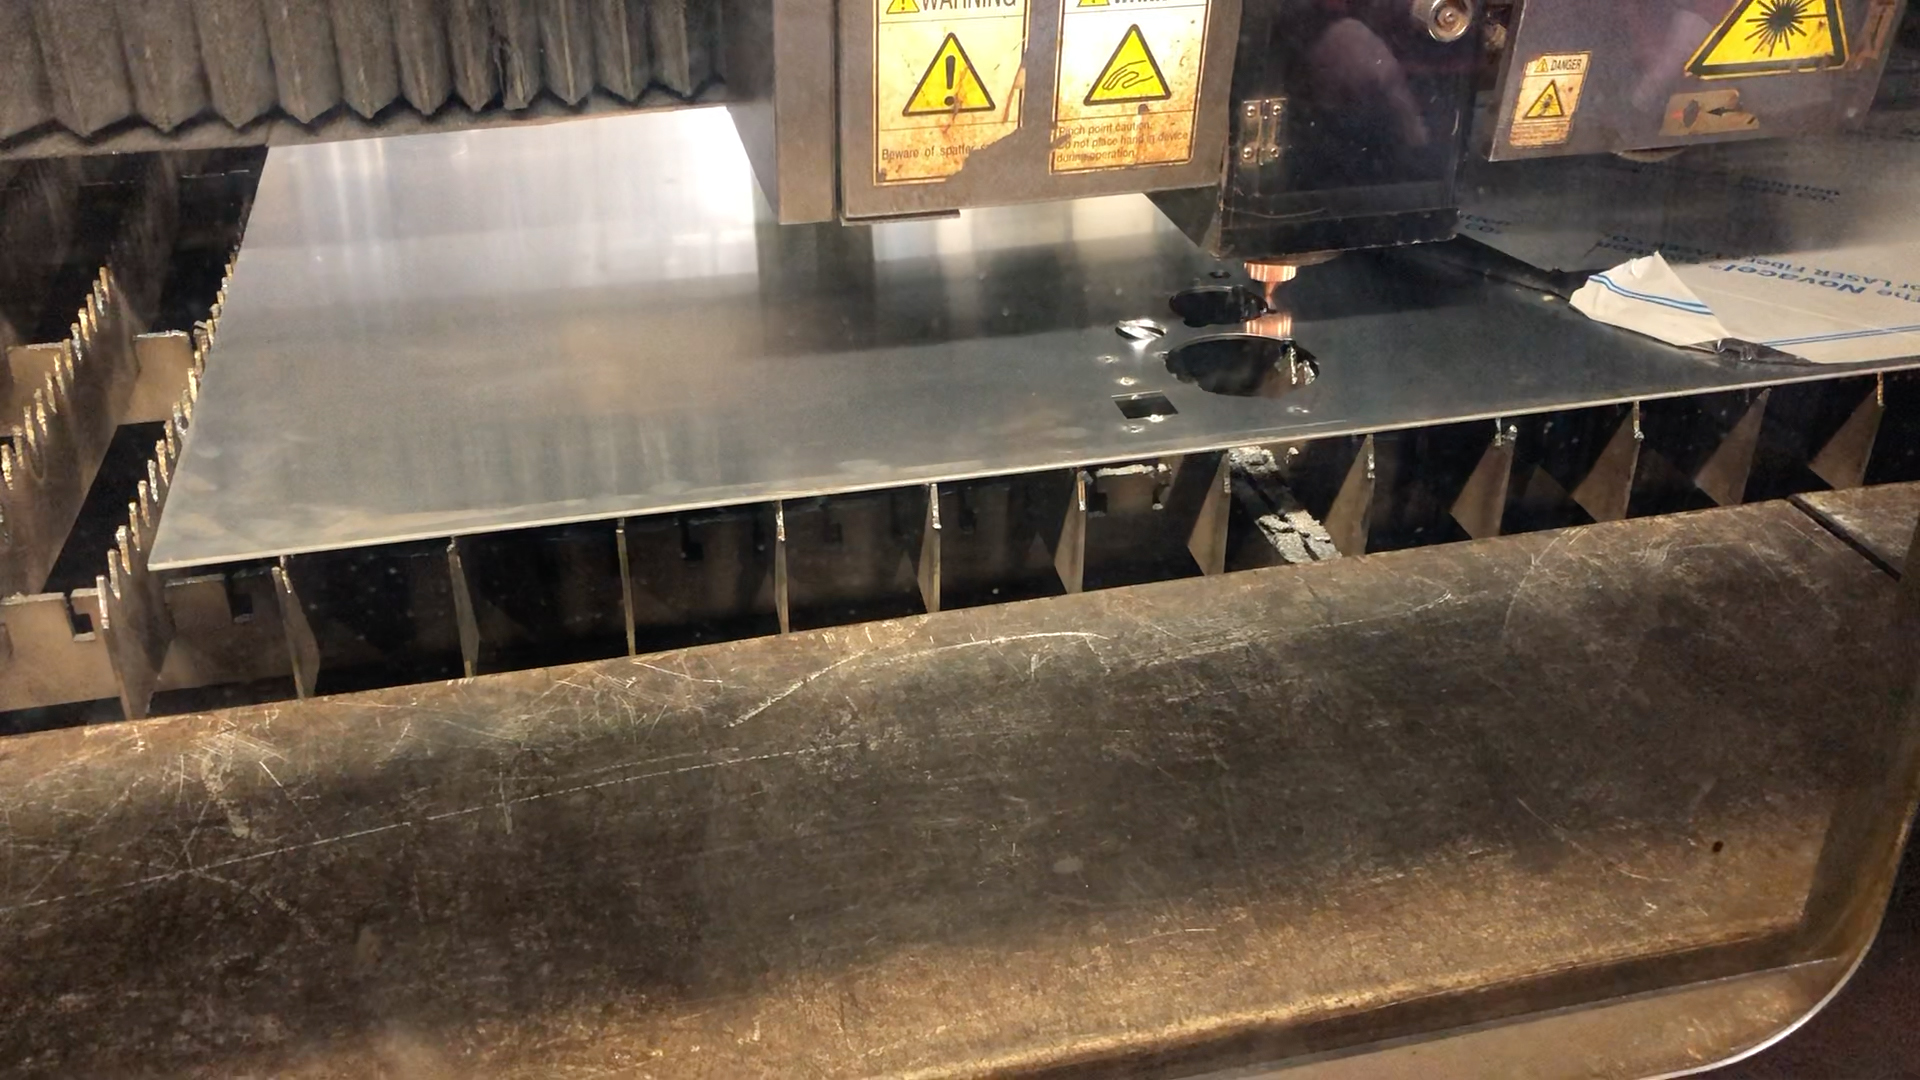
Once you are happy with the layout, the file is sent for cutting and will be laser cut from .080″ 6061 aluminum. The laser cutting process gives precise cuts and hole sizing, granting perfect placement and alignment.
[heading subtitle=”Complete Avionics and Airframe Electrical” size=”2″ heading_class=”style-3″ heading_style=”divider-lg”]4. Harness Construction[/heading]
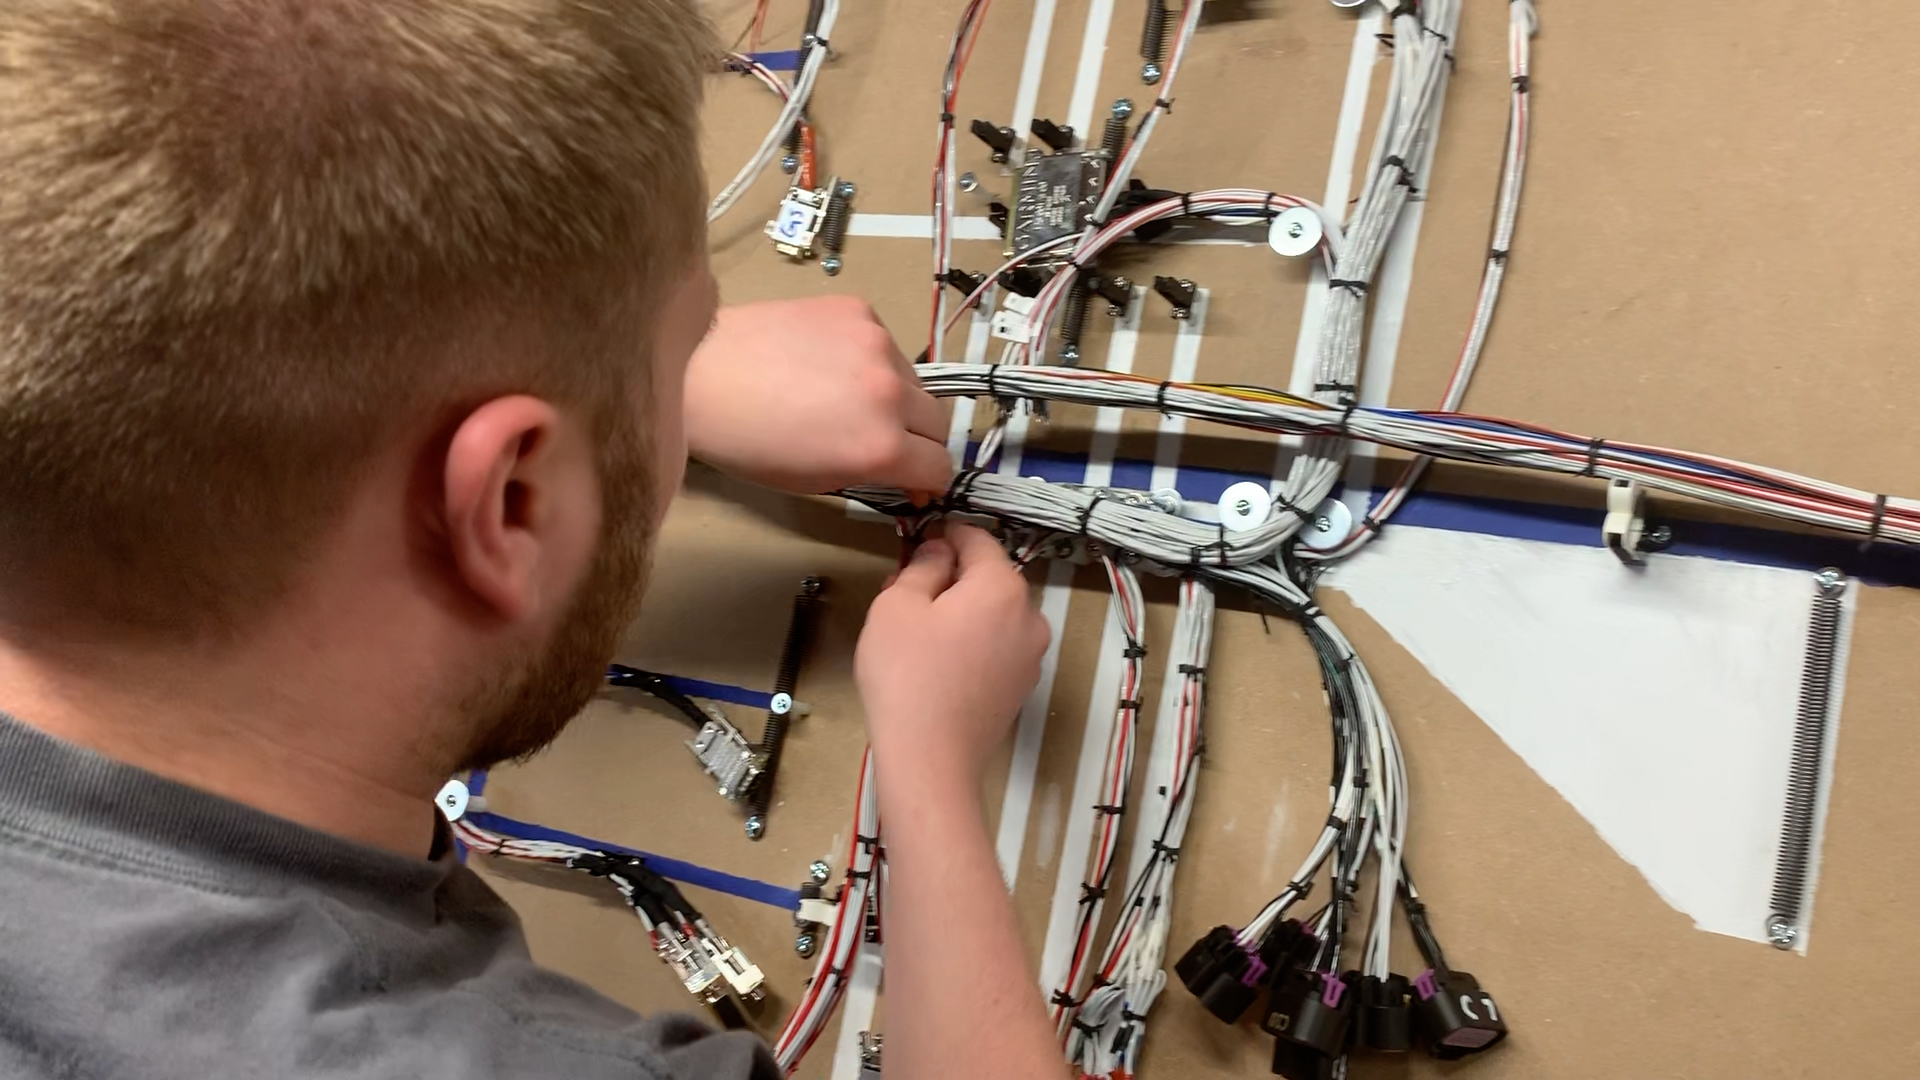
Now that the panel layout has been designed, approved, and sent for cutting, it’s time to start the harness. Most avionics companies will send you a harness that is generic in construction, leaving you to figure out where to mount the hardware and provide them with measurements to those devices. You would also be responsible for building the electrical system on the aircraft side. For Sling owners, we offer a unique solution, building on our extensive knowledge of the Sling aircraft.
We will build a complete aircraft harness with mil-spec aviation grade wire built to certified specifications, including both the avionics and airframe electrical. In addition, we will provide quality weather packed connectors at the wings, tail, and panel, as well as pre-wire the engine sensors. All you have to do is lay the harness into the aircraft and complete the connections at the airframe, and you are ready to go! If you are mounting an iS engine, we will even wire the HIC connectors to the engine ECU.
[heading subtitle=”All Applicable Components Are Added” size=”2″ heading_class=”style-3″ heading_style=”divider-lg”]5. Panel Build Up[/heading]
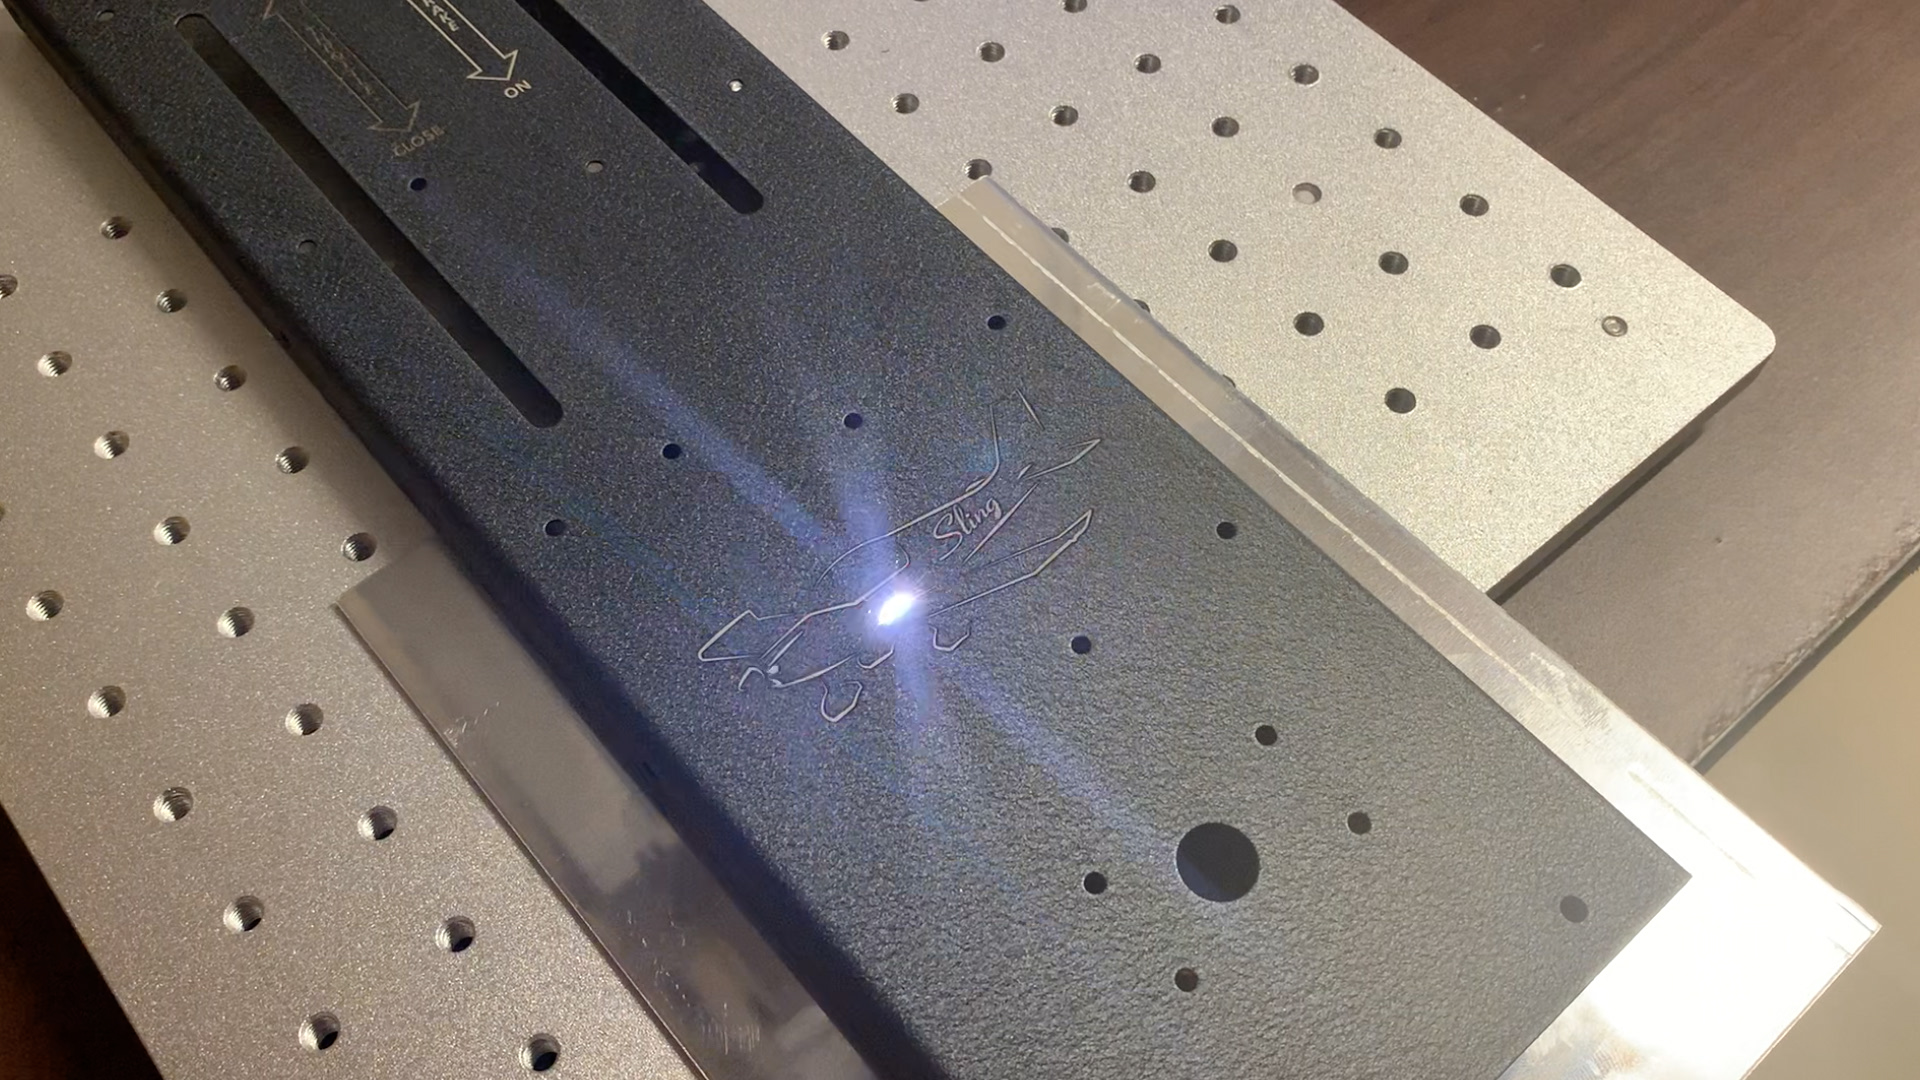
Upon receiving your cut panel, it will be powder coated and then taken to our marking laser to for label etching. While others may use the silk screening process, which can produce nice results, durability is an issue as silk screened panels simply do not hold up to everyday use. We laser etch all the labeling and graphics from the approved design, since this process leaves clean, crisp lines and labeling that will never wear off. We will also powder coat your throttle quadrant cover to match and laser etch all applicable labeling.
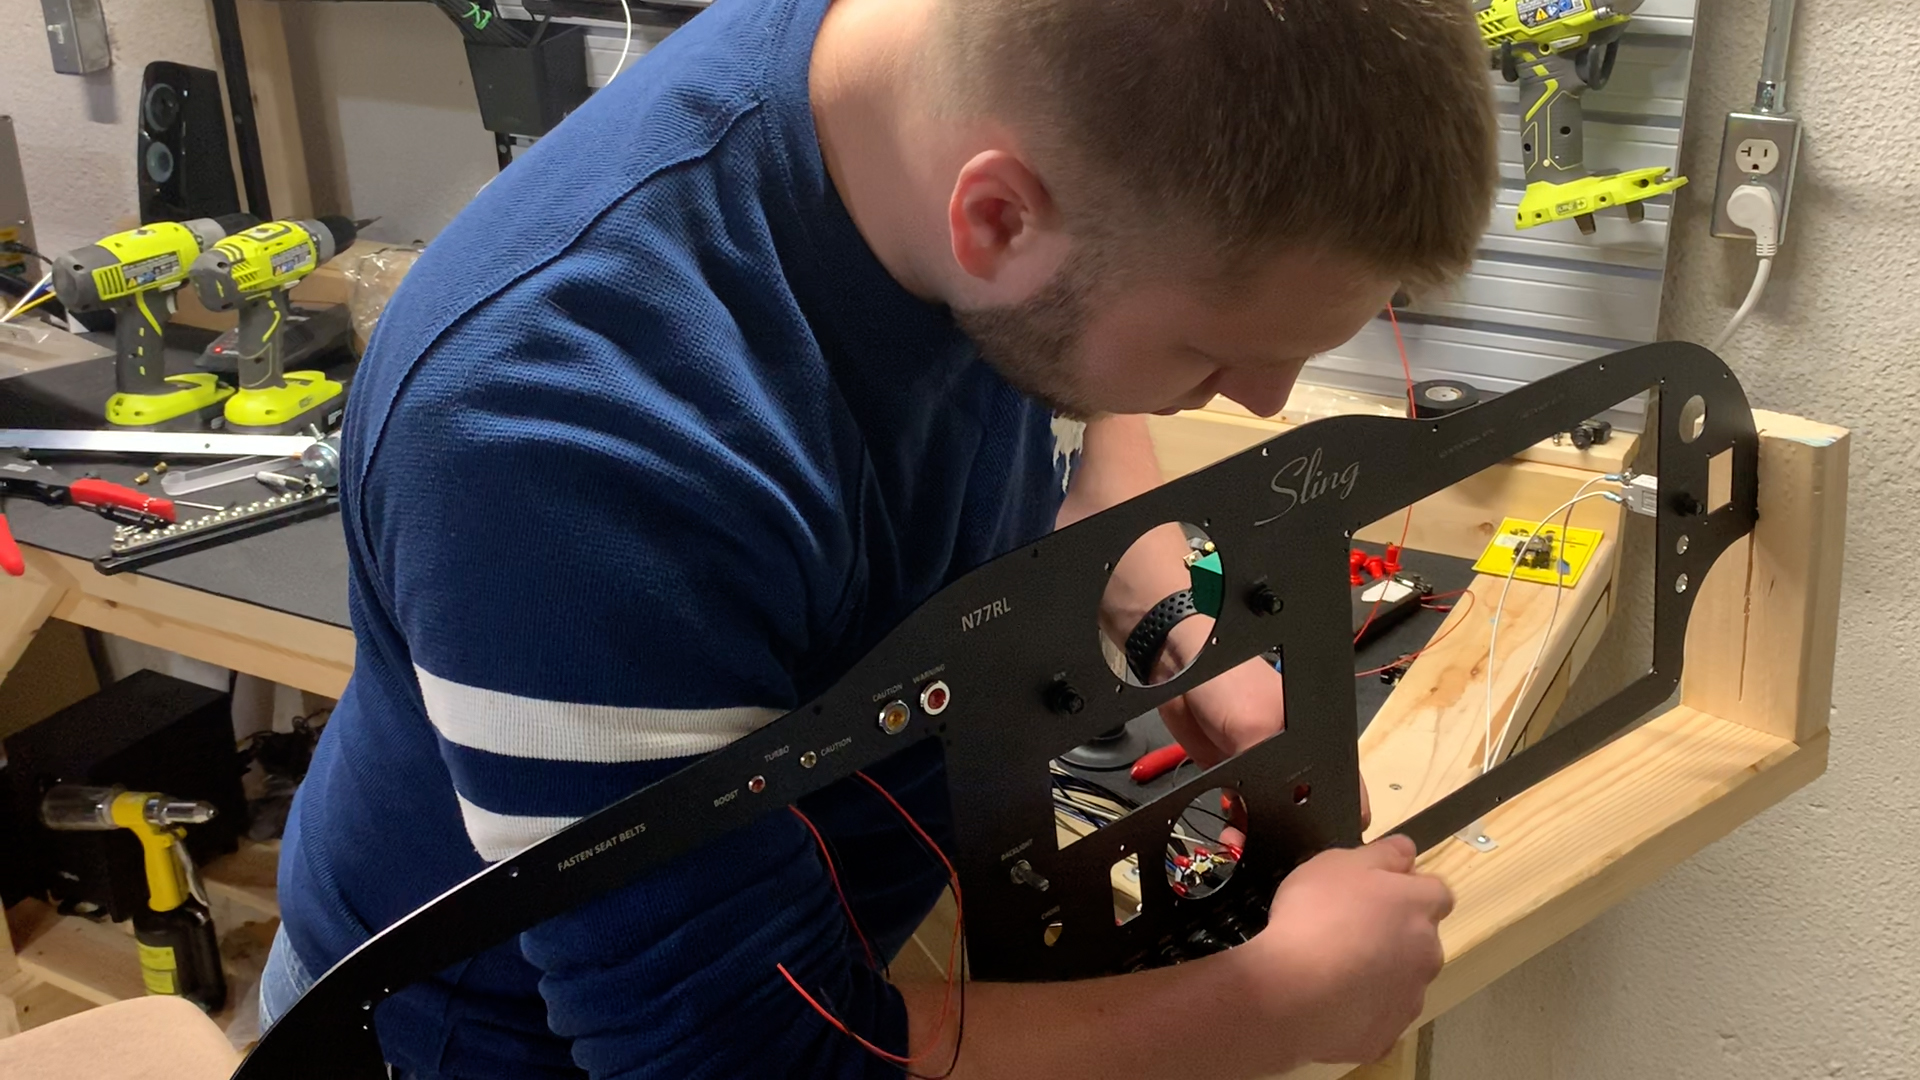
After these steps are accomplished, we start the build-up of the panel. Again, we implement high quality switches, breakers, and other related components to build your panel. In keeping with the modular design, any wires leading to the harness or rack will be put into connectors.
[heading subtitle=”The System Is Assembled and Tested” size=”2″ heading_class=”style-3″ heading_style=”divider-lg”]6. Testing and Delivery[/heading]
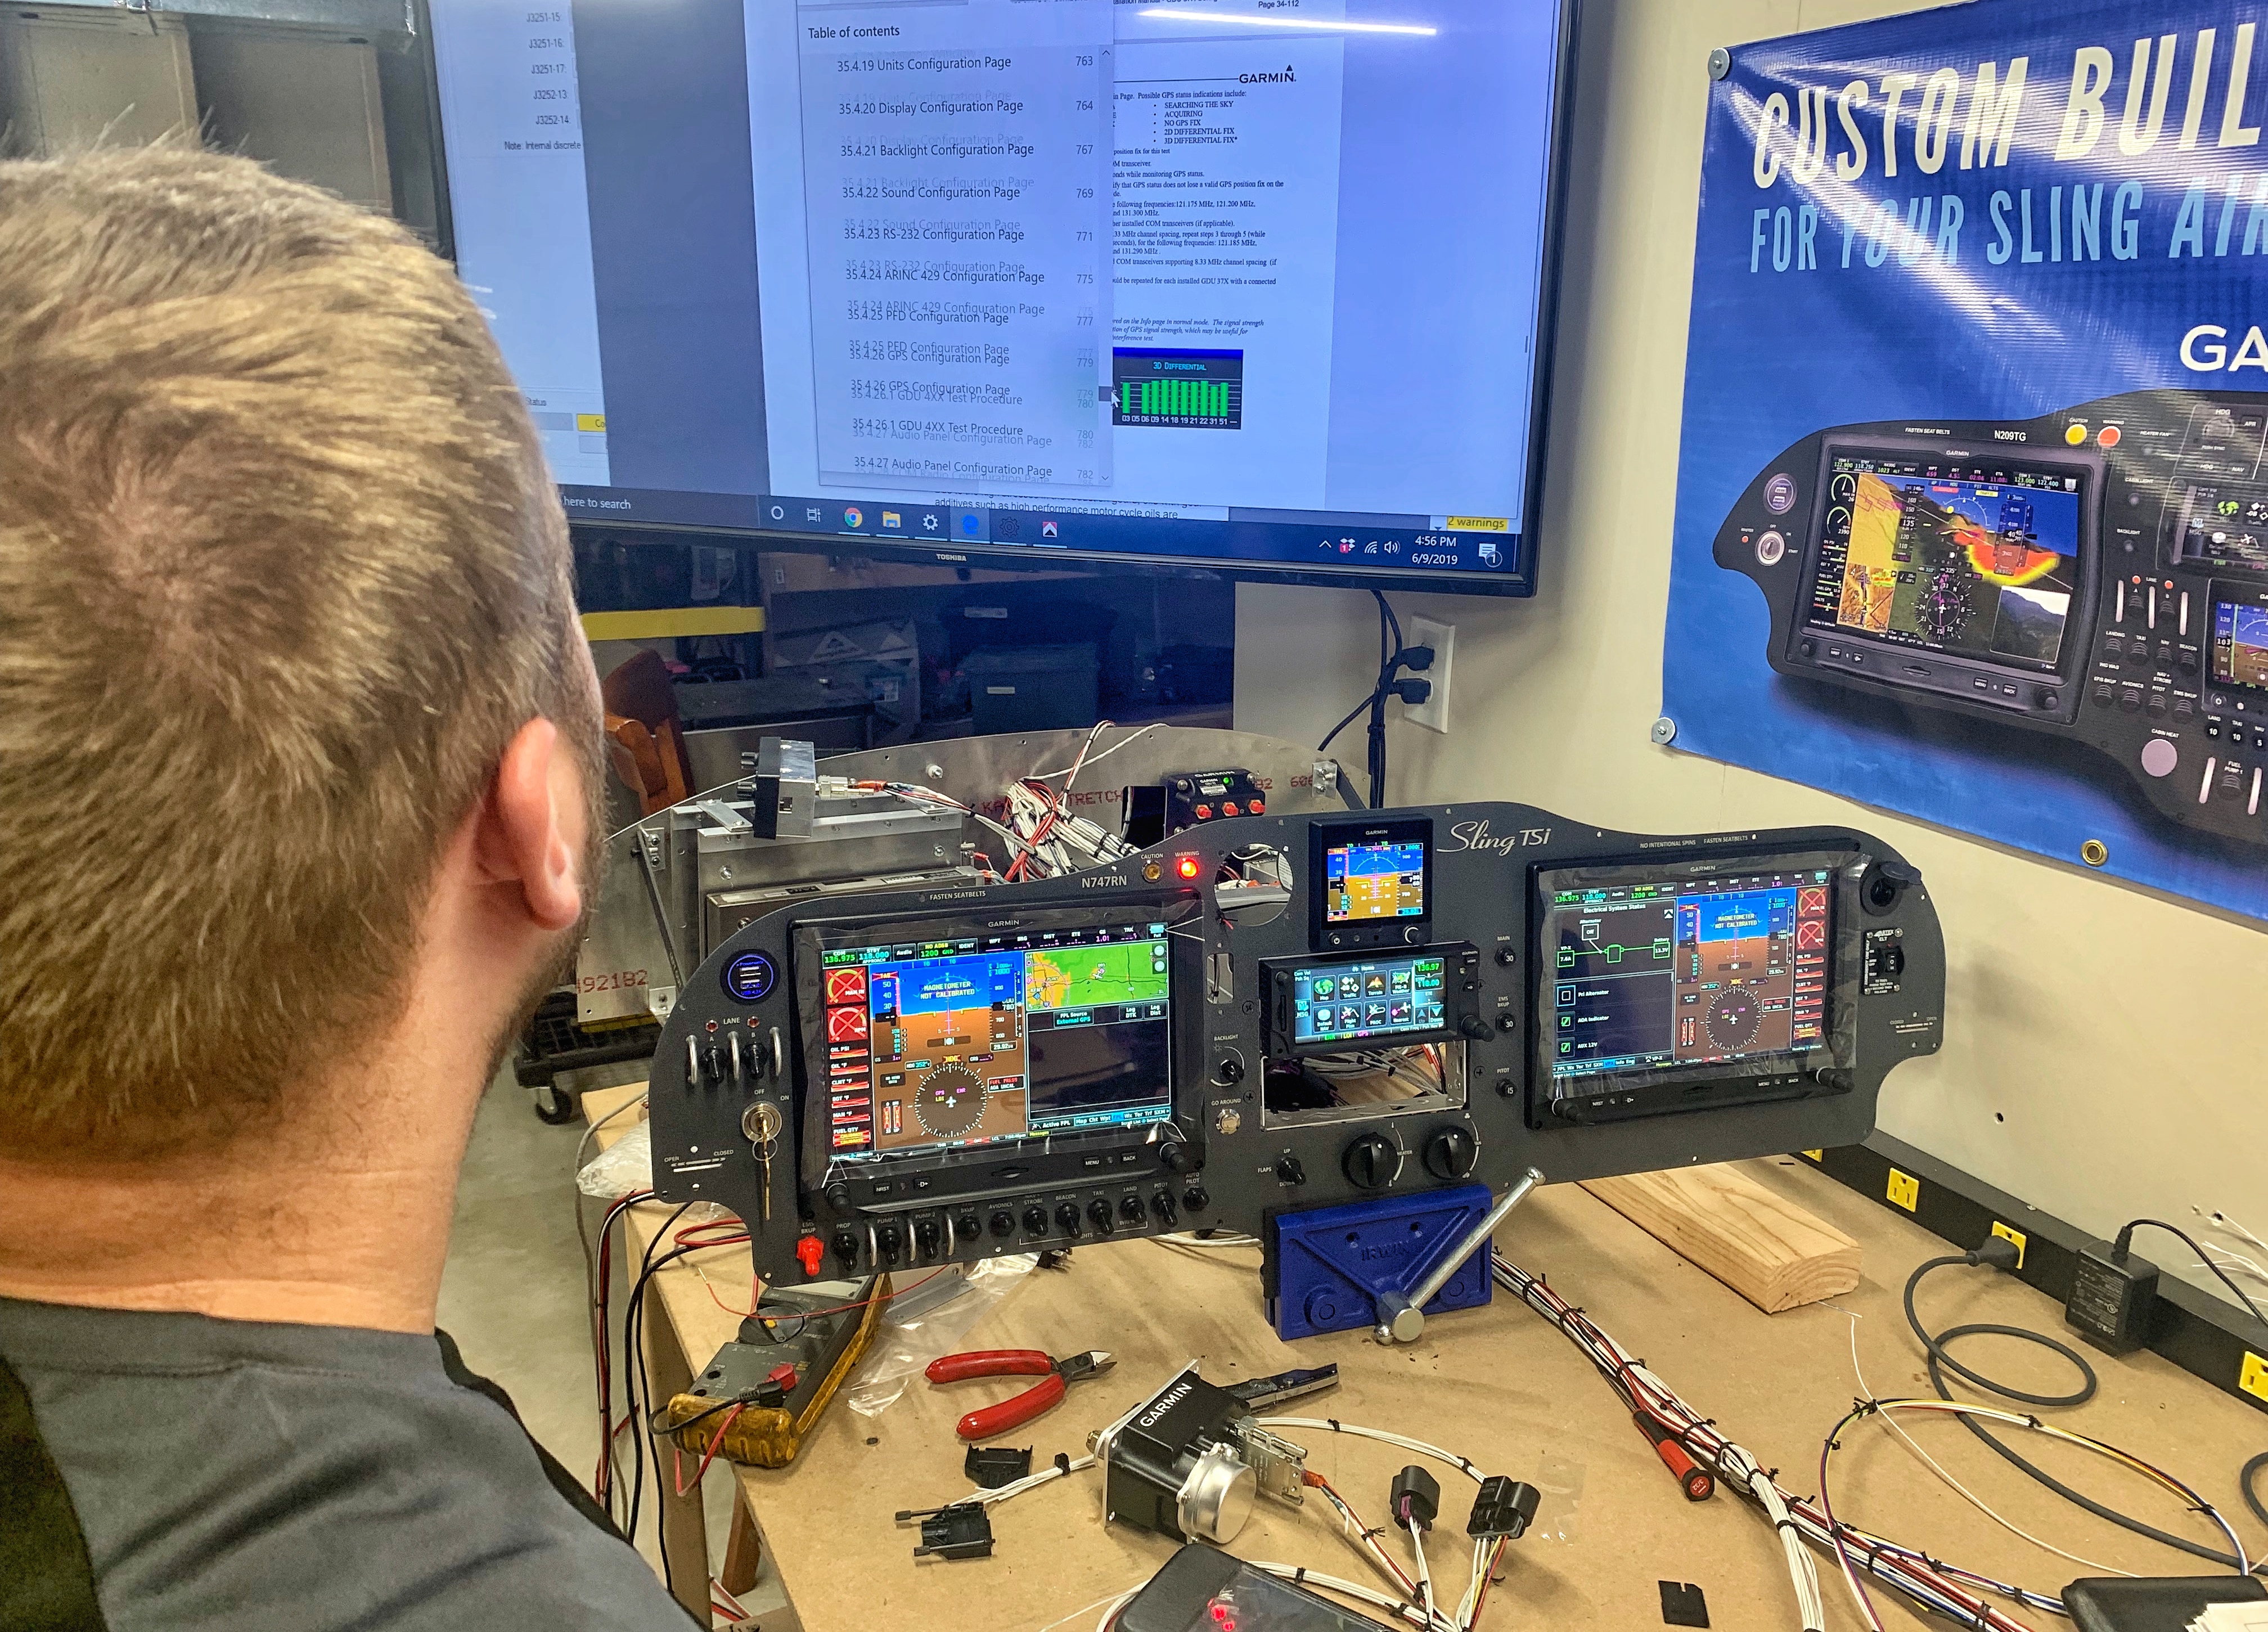
With everything finished, the harness, LRU rack, and panel are brought together connected and powered up. Your avionics will be run through a series of tests to check the system for proper operation and communication, ensuring that when you receive your harness and panel, every part will be ready to go. We will pre-set all the parameters such as airspeed markings, engine sensor ranges, and aircraft informatio0, too. This information will be saved in case you need it during the future. All of your avionics will be updated to the latest software version to ensure you are up to date when your panel leaves our shop.
After all testing is officially complete, your panel, harness, and rack will be packaged up and shipped to you.
[download icon_c=”fa fa-play” url=”https://midwestpanels.com/avionics-quote/” target=”_self” download_text=”Get A Quote” icon_d=”fa fa-hand-o-right” text_color=”#ffffff”]GET YOUR PANEL AND HARNESS STARTED TODAY![/download]